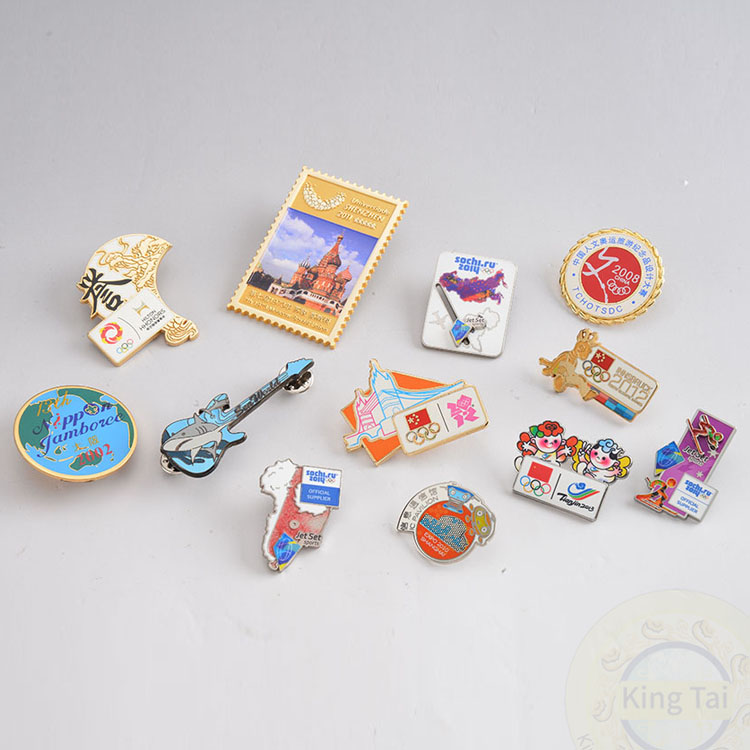
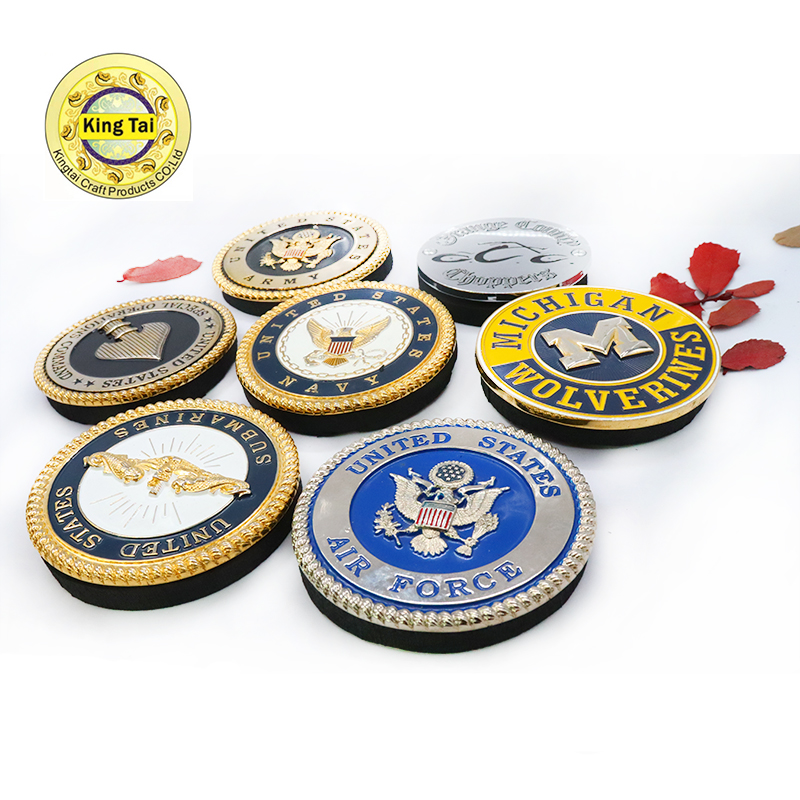
Enamel pins are one of the hottest trends of the moment and businesses, creatives and clubs are looking to get in on the game and create their own bespoke designs. Pins are worn for a number of reasons, from expressing personality and beliefs to showcasing appreciation for brands, bands and organisations, so a great enamel pin design is a must to ensure people wear your message. In this post, we’re going to look at how to make enamel pins, from the initial design to how we construct the pins at Enamel Pin Factory.
Step 1: Design Drawing
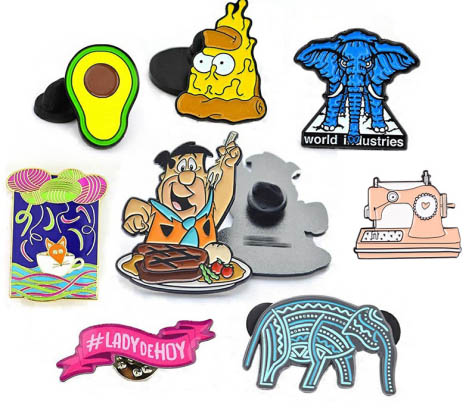
The perfect design is the soul of the custom enamel pins, we will design drawings according to customer requirements.
In order to start production, the minimum requirement a pin factory will ask for is a PDF file of the design you’d like to get produced. You can either draw and color a sketch of your idea on a white piece of paper and scan it as a PDF file or, if you know your way around one of the many graphic design software options out there, you can send them a digital file of the art you’d like to get made into a pin.
Step 2: Finish 3D Model
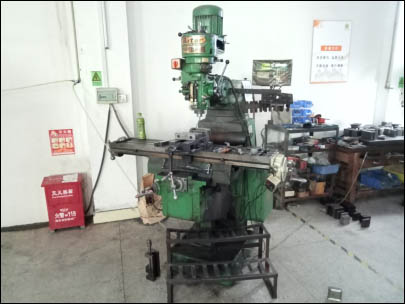
The customer confirmed design drawings that are forwarded to the factory mold department programmer. After the 3D model is finished, the production of the lapel pins can start. A piece of black steel that is a mold material, fixed in the engraving machine, the computer program will be compiled according to the 3D model in the black steel, and remove the excess metal parts. Patterns are gradually formed, which is a slow process. Because of different sizes, different complexity of the design, engraving time spent is not the same. The short only a few hours, while the long take a few days to complete mold making.
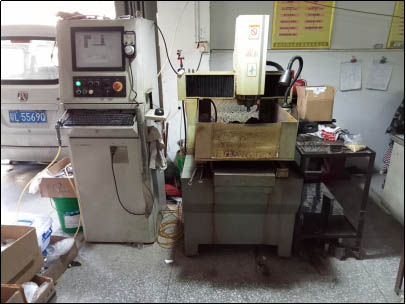
The mold itself is made from specialized industrial steel. We use CNC manufacturing technology that engraves your design backwards in the steel. This process is time consuming and most stamping molds require around 10 hours to make. When you pay a setup fee, this is what you are paying for. This is also the reason that 25-50pc pin orders are expensive to make. For a pin factory, it takes the same time to prepare for a 50pc order as it does 5000pc.
Step3: Die Struck
We will also set a steel ring at the outside of the cooling mold. The reason for this is to protect the mold so it’s not damaged in the stamping process. We use a hydraulic machine to fix the mold, the following we can start the beginning process. This process is what we call DIE STRUCK.
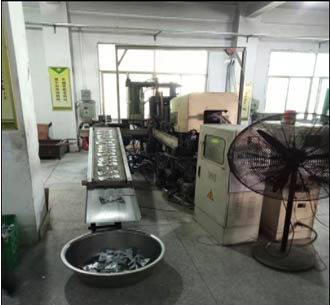
The material selected for this is iron, copper, zinc alloy, aluminum, and so on. When the first blank pin comes out, we need to carefully check the blank custom pin and design is the same. If there is a little flaw, we need to modify the mold or even re-engraved new mold. After checking is complete, if there is no problem we will start mass production on the order. After mass production, we need to remove the extra part with a knife installed on the machine.
Now that the mold, tool and die are made we can begin manufacturing your pin. A machine operator adds your stamping mold to a hydraulic stamping press. The operator feeds a strip of zinc metal over top of the mold and applies approximately 5 tonnes of pressure to the metal so that the pin assumes the shape of your design.
Step 4: Grinding and Vibration
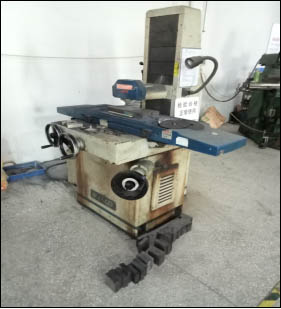
In order for the enamel pins to come out smoothly, we put all blanks into the grinding machine to shock. This will cause the blanks to start collision and friction so that it gives the pins a simply polished.
Step 5: Add Attachments
There are so many specific names for lapel pins, cuff links, a hat clip, etc. Different accessories led to different purposes of the badge, so the names are different. We equipped our production with a very wide range of accessories, “thorn needle, butterfly clutch, safety pin, magnet, etc.” Thorn needles currently have two kinds of assembly methods to fix, one is to glue the thorn needle stuck in the back of the product (this way because of a long-time glue aging, resulting in thorn needle easy to fall off) And another way is silver welding (welding thorn horseshoe needle is very strong, and it will not fall off and fix for so long time).
Step 6: Polishing
Polishing is a very important part of the production process, I believe no one is willing to buy such productions which have a rough badge and scratches on the surface. We are responsible for every customer, so we are very strict about polishing.
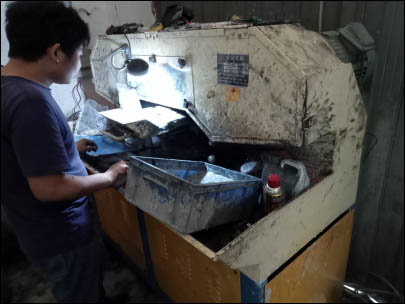
The polishing grinding wheel is divided into many kinds, there is a hard sand wheel, soft cloth wheel, and so on. If smooth requirements are not high, we can use the grinding sand wheel directly polished production, if customers want to get a smooth surface or mirror gloss, we need to use the cloth wheel to polish productions.
Each custom enamel pin will be a separate polished and the worker carefully controls the contact with the cloth wheel to ensure that the polished surface can be polished. After polishing, side polishing is still done by hand, one by one individually polished.
Step 7: Electroplating
Polished pins will be sent to electroplating, which is according to the customer’s demand. There is bright gold, bright silver, bright red copper, antique gold, antique silver, antique copper, and so on.
With the copper wire for the custom-made pins, one by one is strung together invading the syrup. The first step is to use ultrasonic oil in order to remove the pins in the previous production process stained with a variety of oil. Through the sound waves generated overclocking vibration, so that oil separates from the enamel pins surface. After they are oiled, pins will need to be washed to get rid of the syrup.
And then, we start to plate. Infiltration with alkali copper liquid, pins are coated with metal color. Usually different plating colors, the number of coloring will be different. Red copper can be plated twice, three times silver, four times gold. It is the end of the plating when enamel pins are sent into the oven for baking.
Step 8: Coloring
Color is divided into soft enamel and hard enamel. Soft enamel pins are one of our most popular styles. Metal areas are raised, colors are recessed.
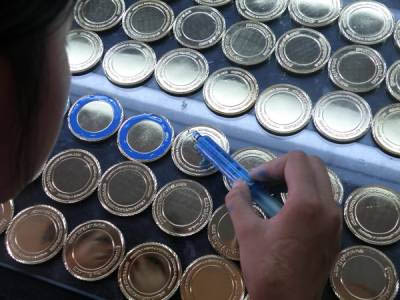
Hard enamel pins color is smooth and delicate giving a very upscale feeling. Contract color card and design draft, the color worker needs to mix the color and many places that need to color can be very small. The color worker sucks the color with a needle and colors it by hand. Until the color is completed the quality inspection master carefully checks the color of the pins. If there is no problem, the badge is put into the oven at high temperatures to make the paint solid and fixed on the pin.
The above is about soft enamel pins color. Hard enamel pins color order is not the same. We need to electroplate at first, and then to color, while the latter is plating at first, coloring second, plating third. In other words, hard enamel pins need to polish twice. In addition, after coloring, we need to deal with the problem of uneven color because the liquid properties before baking will cause the solidified color surface to be rugged. The product needs to be polished again, and the pins need to be washed to prevent being damaged by high temperatures.
Step 9: Packaging
The last quality inspection is made before packaging. Only qualified productions were sent anywhere in the world by land transport or air transport. We can provide different packaging according to different requirements for customers. OPP bag is most common. Besides, we provide paper cards, velvet pouch, velvet box, plastic box.
Did you understand the process of making custom enamel pins through videos or reading our texts? If you have any other doubts, you can leave a message text comments, or directly go to our website www.kingtaicrafts.com and contact us online, we would like to help customers answer the doubts.
Do you need to design stylish and memorable lapel pins for your teams?
At Kingtai craft products Co., Ltd, we have helped many sports teams create custom lapel pins that deliver excellent results in all use cases.
Types of Metal Crafts
Post time: Apr-03-2023
